
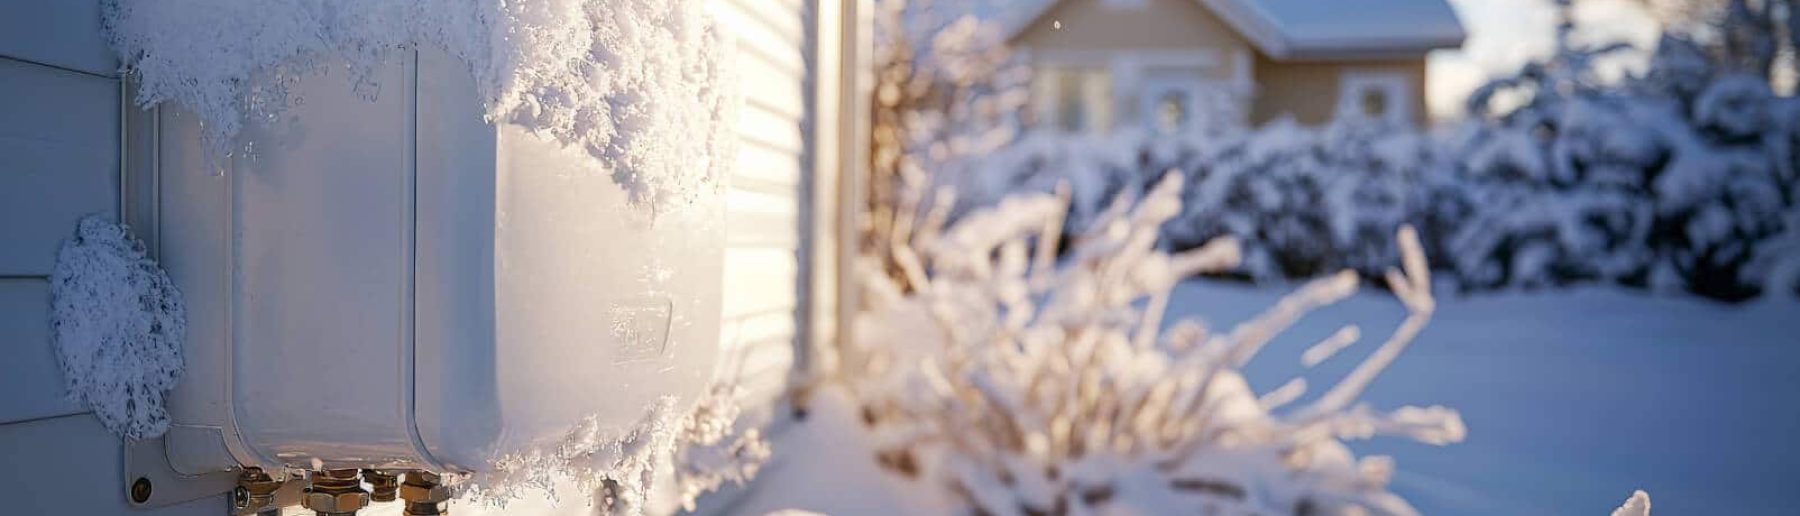
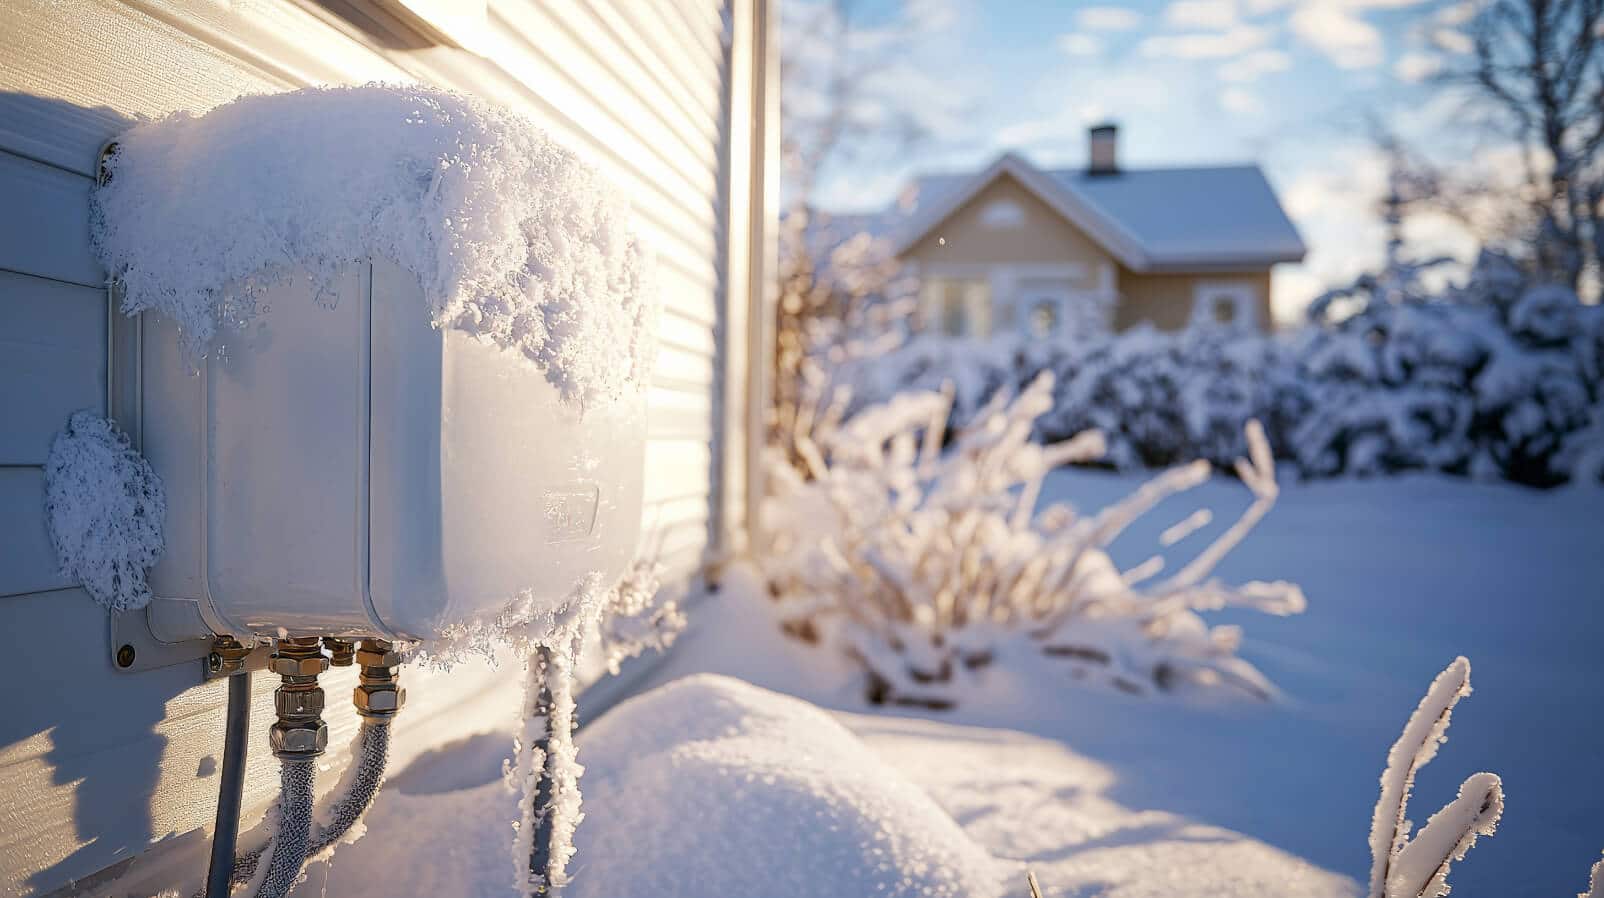
Las Vegas winters are mild compared to colder climates, but we still get occasional overnight freezes that can damage an unprotected sprinkler system. Winterizing your sprinkler system here isn’t about surviving months of hard freeze, it’s about protecting exposed components on the handful of cold nights we do get each year. Doing it right now can save you from a cracked pipe or backflow preventer later.
Why Do You Need to Winterize Your Sprinkler System?
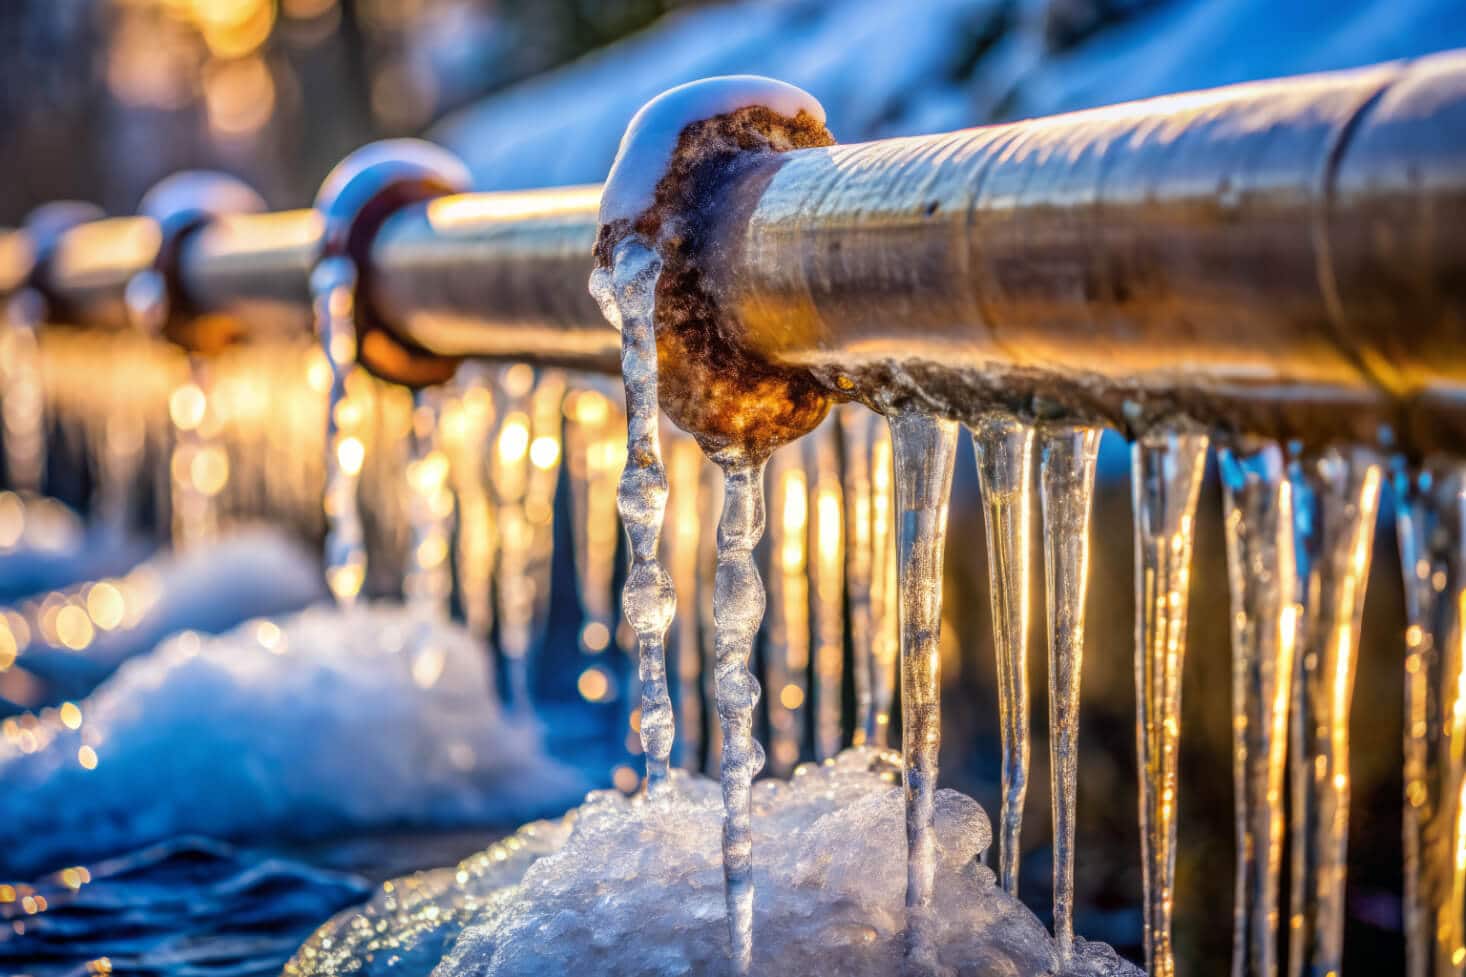
Even a single hard freeze overnight can be enough to crack an exposed pipe, valve, or sprinkler head if there’s still water sitting inside it. Las Vegas doesn’t see the sustained freezing temperatures that make full winterization essential in colder states, but exposed, above-ground components like backflow preventers are still vulnerable on the coldest nights of the year, typically in December and January.
The good news is that winterizing a Las Vegas system is usually simpler than in colder climates. In many cases, insulating exposed components and adjusting your controller is enough, and a full compressor blowout often isn’t necessary unless your system has unusually exposed piping. Knowing which level of protection your system actually needs can save you both unnecessary cost and a preventable repair.
When to Winterize Your Lawn Sprinkler System in Las Vegas
The best time to winterize is before the first hard freeze of the season, typically in late November or early December here in the valley. Watch the overnight forecast as temperatures start dropping, once nighttime lows are regularly approaching freezing, it’s time to act. Be proactive to protect your smart irrigation system and avoid a preventable repair. Since Las Vegas freezes tend to be short and overnight rather than prolonged, a little preparation goes a long way.
Tools and Supplies You’ll Need
To learn how to winterize your sprinkler system, gather the right tools and supplies. You’ll need an air compressor for blowouts, insulation materials for exposed parts, and basic tools like wrenches and screwdrivers. Use a pressure gauge to monitor water pressure during the process and avoid damage. Depending on the type of system, specific tools are required to drain the water, such as drain keys for manual setups. Don’t forget to shut off the water at the main valve before starting. These supplies make the process safe and efficient for any system.
How to Winterize Your Sprinkler System?
The harsh winter weather can be a nightmare for sprinkler systems. However, following these guidelines will ensure the safety of your sprinklers and prevent expensive repairs.
Here’s how to winterize your sprinkler system efficiently:
Step 1: Turn Off the Water Supply
The first step in winterizing your sprinkler system should be to stop the flow of water through the valve in charge. Find the supply pipe used for mains water and shut it off completely to prevent any additional water from entering the system. This is essential in reducing the possibility of freezing in pipes. If you’re unsure where to locate the valve, always contact our landscaping specialists for assistance.
Step 2: Drain Excess Water
When the water supply is shut off, you must remove any remaining water from the system. Draining the water properly is crucial to ensure that it doesn’t freeze and cause harm. Based on the system you have, you could employ one of the following methods:
- Manual Drainage Method: Open the drain valves in your sprinkler system and let gravity do the job. This method is suitable in systems with drain points. Make sure that all zones are draining.
- Automatic Drainage Method: Certain systems are built to release water automatically when the pressure falls. If your system has this feature, you can activate it by shutting off the main valve and then waiting for the water to run out.
- Method of Blowout (if appropriate): Use the air compressor to blast gas through pipes to squeeze out any remaining water. Be careful with the pressure so as not to damage the system. If you’re not sure, our irrigation repair team can handle this safely, along with a full evaluation of your system.
Step 3: Insulate Exposed Components
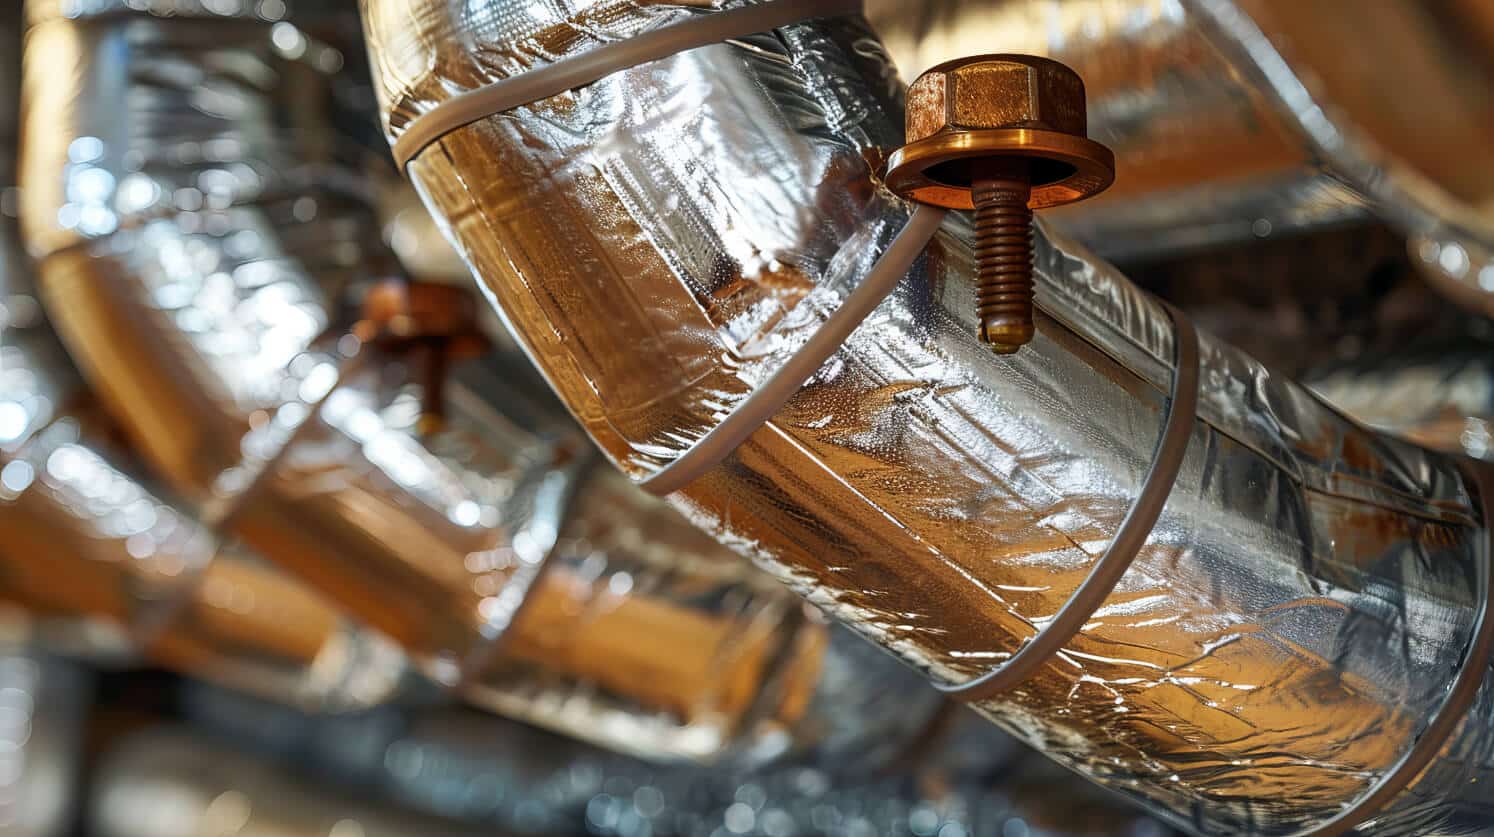
Protect exposed parts, such as pipes, backflow preventers, and valves, with insulation tape. Foam insulation or tape is ideal. This ensures that the components outside your equipment are protected from freezing temperatures.
Step 4: Shut Down the Controller (if applicable)
If your sprinkler has automated controllers, you can turn off the controller or switch it on to “rain mode” to save energy. This will prevent the system from operating through the winter months and protect the internal mechanisms from harm.
Following these steps, you can keep your irrigation system safe and ready for spring. For more help or to winterize a smart irrigation system, feel free to contact our landscaping specialists today!
Common Mistakes to Avoid When Winterizing
Avoid these mistakes to ensure your sprinkler system stays safe during winter:
- Forgetting to drain all zones: Water left in any part of the system can freeze and cause damage.
- Using too much air pressure during blowouts: High PSI can break pipes and fittings.
- Not insulating exposed components: Failing to protect backflow preventers and pipes can lead to costly repairs.
- Skipping system inspection: Overlooking leaks or clogged sprinkler heads can cause issues when restarting in spring.
Addressing these common mistakes will protect your system and avoid needing irrigation repair in Las Vegas for preventable damage.
Tips for Winterizing Your Sprinkler System
- Monitor water pressure when using an air compressor to avoid system damage.
- Label all components for easy reassembly in spring.
- Regularly check the weather forecast to prepare before the first freeze.
- Test drain valves and release air from pipes as needed.
When to Call a Professional
If you’re unsure how to winterize your sprinkler system or have a complex system with multiple zones, it’s best to call an expert. Professionals can use the right tools and techniques to protect your system, including the blowout method for safe and effective water removal. If you lack an air compressor or face persistent issues, don’t hesitate to seek irrigation repair in Las Vegas to avoid long-term damage.
Winterizing your sprinkler system is an integral part of its long-term longevity and functionality. It protects pipe components from freezing and provides your system with a seamless start-up in spring.
Involvement with winterization not only protects pipes and components from freeze damage but also provides the opportunity to assess performance, evaluate outcomes, and make any needed upgrades or adjustments. Ultimately ensuring it remains reliable and cost-effective throughout its service lifecycle, not only will investing time now save both effort and money later.
Frequently Asked Questions
Do sprinkler systems need to be winterized in Las Vegas?
Yes, but usually a lighter version than in colder climates. Insulating exposed components and adjusting your controller is often enough, since Las Vegas doesn’t see the sustained hard freezes that make a full blowout necessary elsewhere.
What temperature should I winterize my sprinklers at in Las Vegas?
Start once overnight lows are regularly approaching freezing, typically late November or early December in the valley. Waiting until after the first hard freeze increases the risk of damage.
Can I skip winterization if I have an in-ground system in the desert?
Not entirely. Buried piping is less at risk than exposed components, but backflow preventers, above-ground valves, and exposed pipe sections still need protection on the coldest nights.
Do I need a full blowout winterization in Las Vegas?
Not always. Many Las Vegas systems only need insulation and a controller adjustment. A full compressor blowout is typically only necessary for systems with unusually exposed piping, an irrigation evaluation can tell you which your system needs.